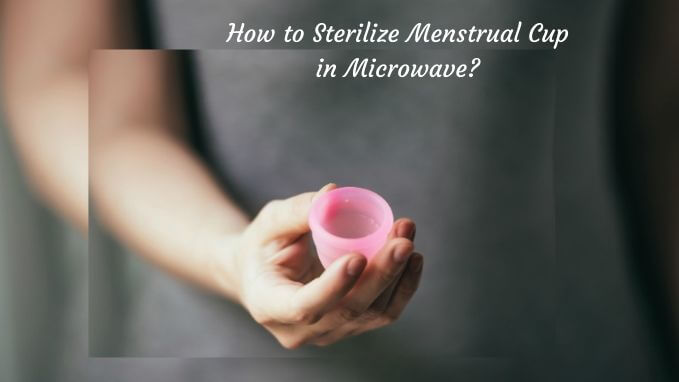
How to Sterilize Menstrual Cup in Microwave – Best Way to Clean It
Menstrual cups have made the lives of us, women, pretty easy. It is not only comfortable to wear and remove these cups, but they are also sustainable. Unlike the other options available for periods, menstrual cups are the only ones that can be cleaned and reused. These cups are win-win for everyone as it aids in reducing the use of plastic and is also beneficial in reducing your carbon footprint. Although using cups is easy, it should be seen to it that you clean your cup and sterilize it to avoid the infections.
How to Sterilize Menstrual Cup in Microwave
There are many ways in which you can clean your menstrual cup. It involves wiping the cup with an antibacterial wet wipe or just washing the cup with water. All these processes are enough for just cleaning the cup and not sterilizing. Doctors recommend sterilizing the cups between your uses to keep the bacteria and infections at bay.
Most women use boiling water to sterilize their cups, but now you can also do it by using your microwave. Amazing, right? As the menstrual cups are made of silicone, these are generally microwave safe. It is also suggested to check the cup’s manual or instruction guide to check if the cups can be put in the microwave. Many well-known brands such as Diva Cups make their menstrual cups safe for the microwave.
Now that we know all the essential information lets go through a step-by-step procedure to sterilize the menstrual cup in microwave:
1. Empty the Cup
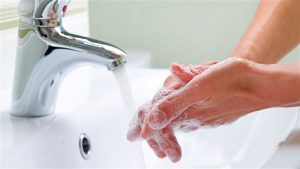 The first step is to empty the cup if you are sterilizing the cup that you have been using. Make sure that you have washed your hands with water and antibacterial soap to avoid any infection. Doctors recommend emptying your cup every 6-12 hours depending upon your flow Empty its content and flush it.
2. Clean the Cup
The next step is to clean the cup properly to get rid of the debris and other stuck particles. For this step, take warm water in one container and soak the cup in it for 2-3 minutes. This step ensures that the cup is all cleaned and prepped for the sterilization process. You can also scrub the debris that is not coming off with ease. Make sure to clean the cup properly as the bacteria can grow if the cup is not cleaned thoroughly.
3. Microwave the Menstrual Cup
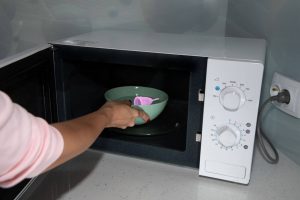
For this step, fill water in the microwave-safe container or bowl. Now put your menstrual cup in the container and place the container in the microwave. Do not cover the container or vessel after placing the menstrual cup inside it. Switch on the microwave and set it up for 2-3 minutes so that there is a quick boil in the water. Once you see the water boiling, switch off the microwave.
4. Pat Dry the Menstrual Cup
Take the cup out in a clean mug or container. Pat dry the cup using a soft tissue or a clean cloth. Check if there is any debris left or it needs more cleaning. You can also leave it in the mug to let it dry.
5. Store the Cup
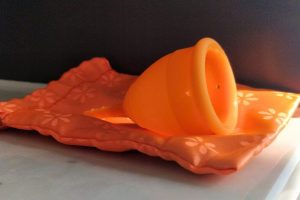 The last step in this process is to store this cup in a cotton pouch or small bag. A lot of manufacturers provide small storage pouches along with the cups for storage purposes. But if you don’t have one, then you can order it online or store it in a container. It’s essential to store the menstrual cup in a clean storage pouch or container. Make sure that the storage is not airtight. Keep this pouch at a dry place and voila you are done. Your menstrual cup is sterilized now and can be used further without any issues.
Concluding Remarks
Sterilizing a menstrual cup is vital to maintain the good condition of the cup. Microwave-safe cups are easy to sterilize as they hardly take much time. Although many people use traditional boiling methods to sterilize the cups, microwaving it is effortless and does the job.